Hosting Otterscan on Cloudflare Pages
This is a small guide to host an instance of Otterscan on Cloudflare Pages, a free hosting service.
💡 This guide is for educational purposes. Advanced topics like security hardening or Cloudflare account management will NOT be addressed here.
Deploying an Otterscan instance
The following steps will assume you:
- Already have an active Cloudflare account.
- Already have an active GitHub account.
- Already have an Erigon archive node running.
Repository configuration
Assuming:
- You can access your Erigon node JSON-RPC on
http://my-erigon-url:8545 - You can access your Erigon node beacon-API REST endpoint on
http://my-erigon-url:5555
💡 Make sure CORS settings are working for both endpoints!
Do:
- Go to https://github.com/otterscan/otterscan and fork it to your account.
- Clone the forked repository to your machine.
git clone
- Check out the stable branch
main.
git checkout main
- Using your favorite code editor, create a
.env.productionfile at the root of the repository. - Paste the following contents:
VITE_CONFIG_JSON='
{
  "erigonURL": "http://my-erigon-url:8545",
  "beaconAPI": "http://my-erigon-url:5555",
  "assetsURLPrefix": "https://static.otterscan.io",
}
'
- Commit and push to your repository.
Now you have a clone of Otterscan ready to be deployed according to your configuration. Let's proceed to deploying it on Cloudflare.
Cloudflare configuration
-
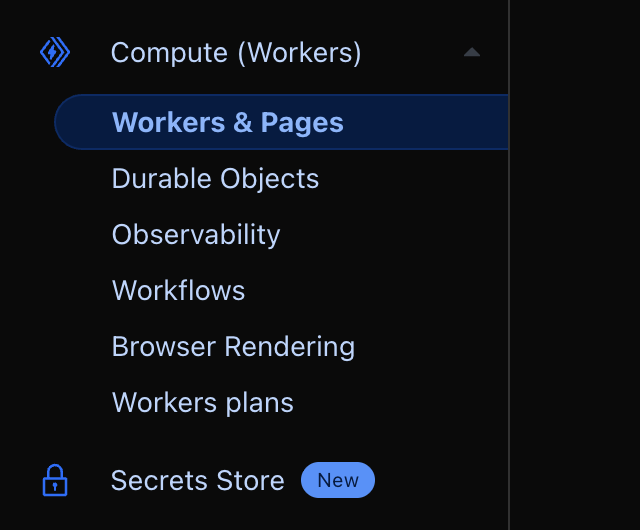
Open the Cloudflare dashboard and go to the Workers and Pages section.
-
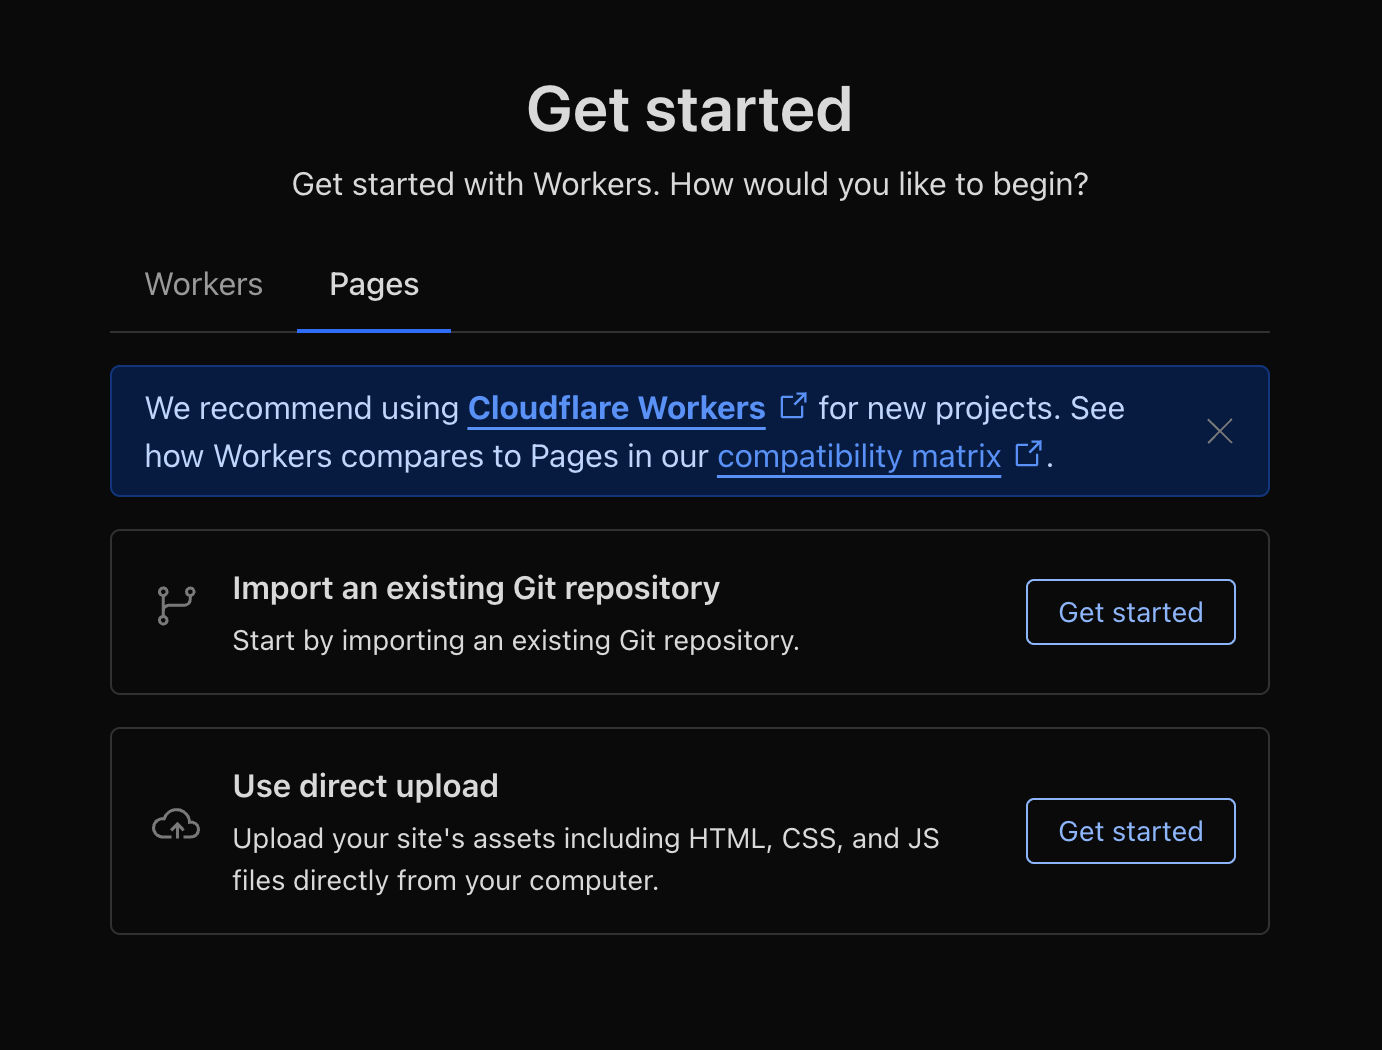
Select Create -> Pages -> Import an existing Git repository.
-
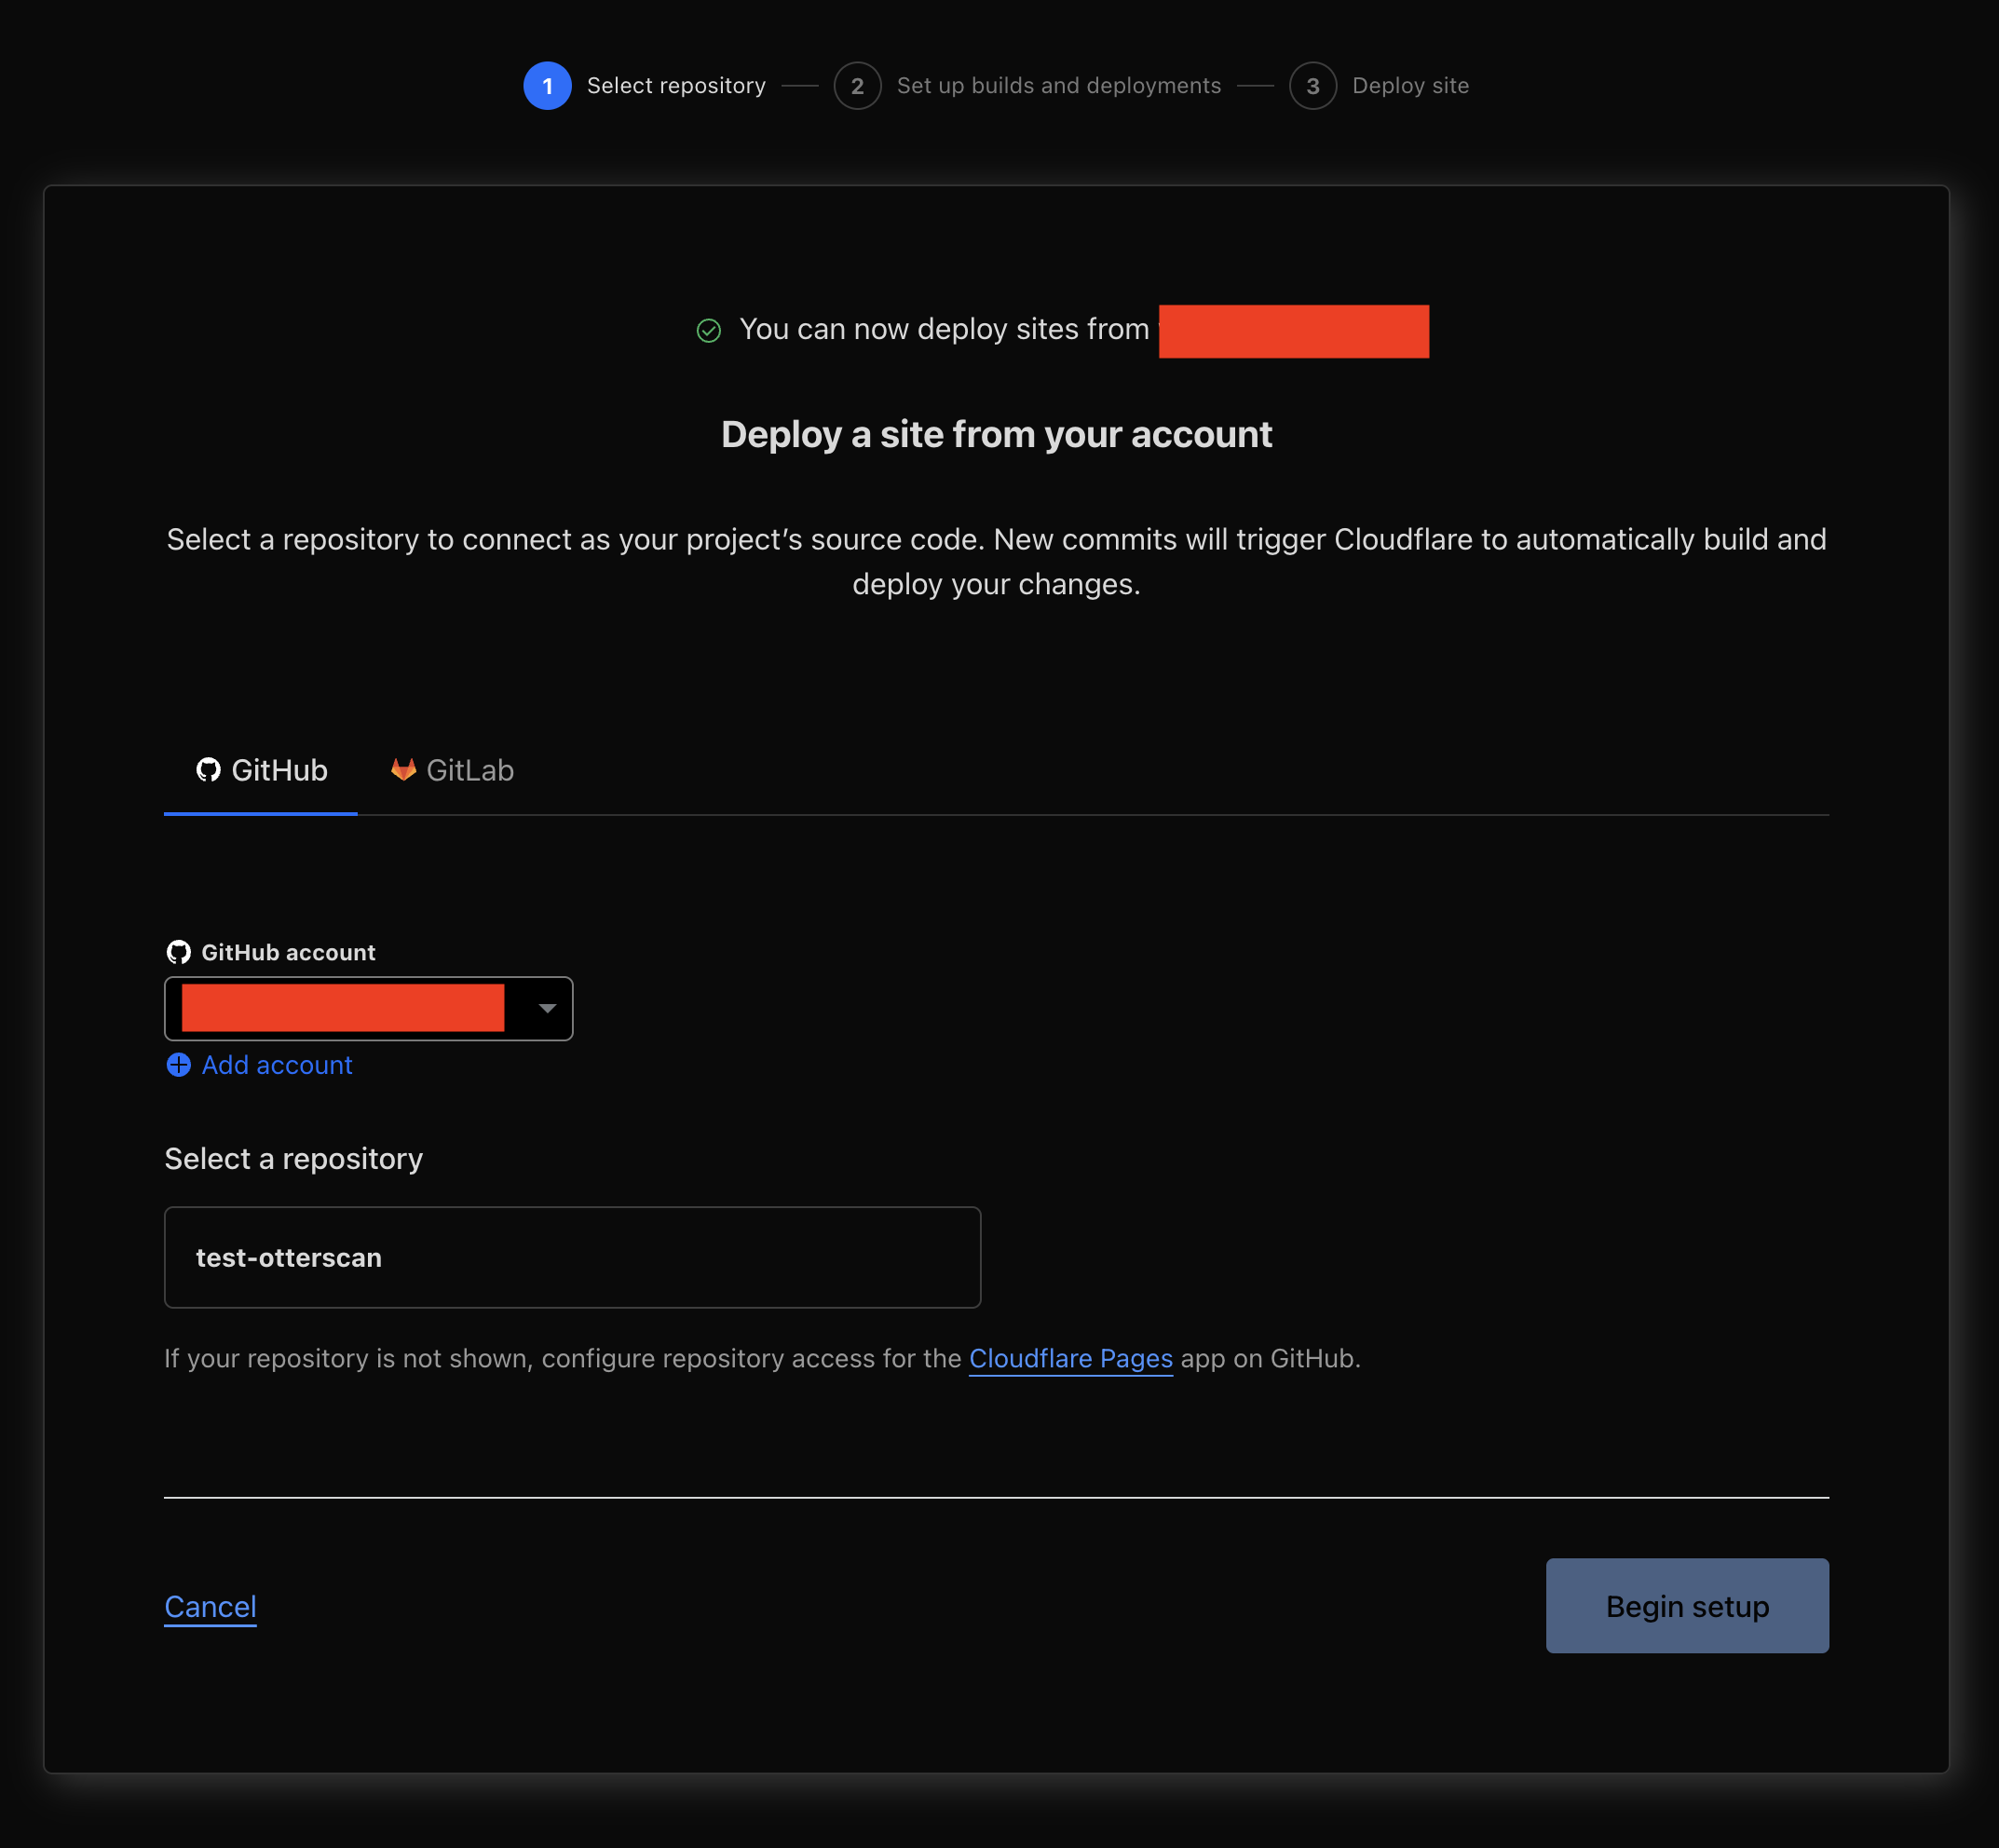
Select your fork of Otterscan. You will have to authorize Cloudflare to access your GitHub account.
-
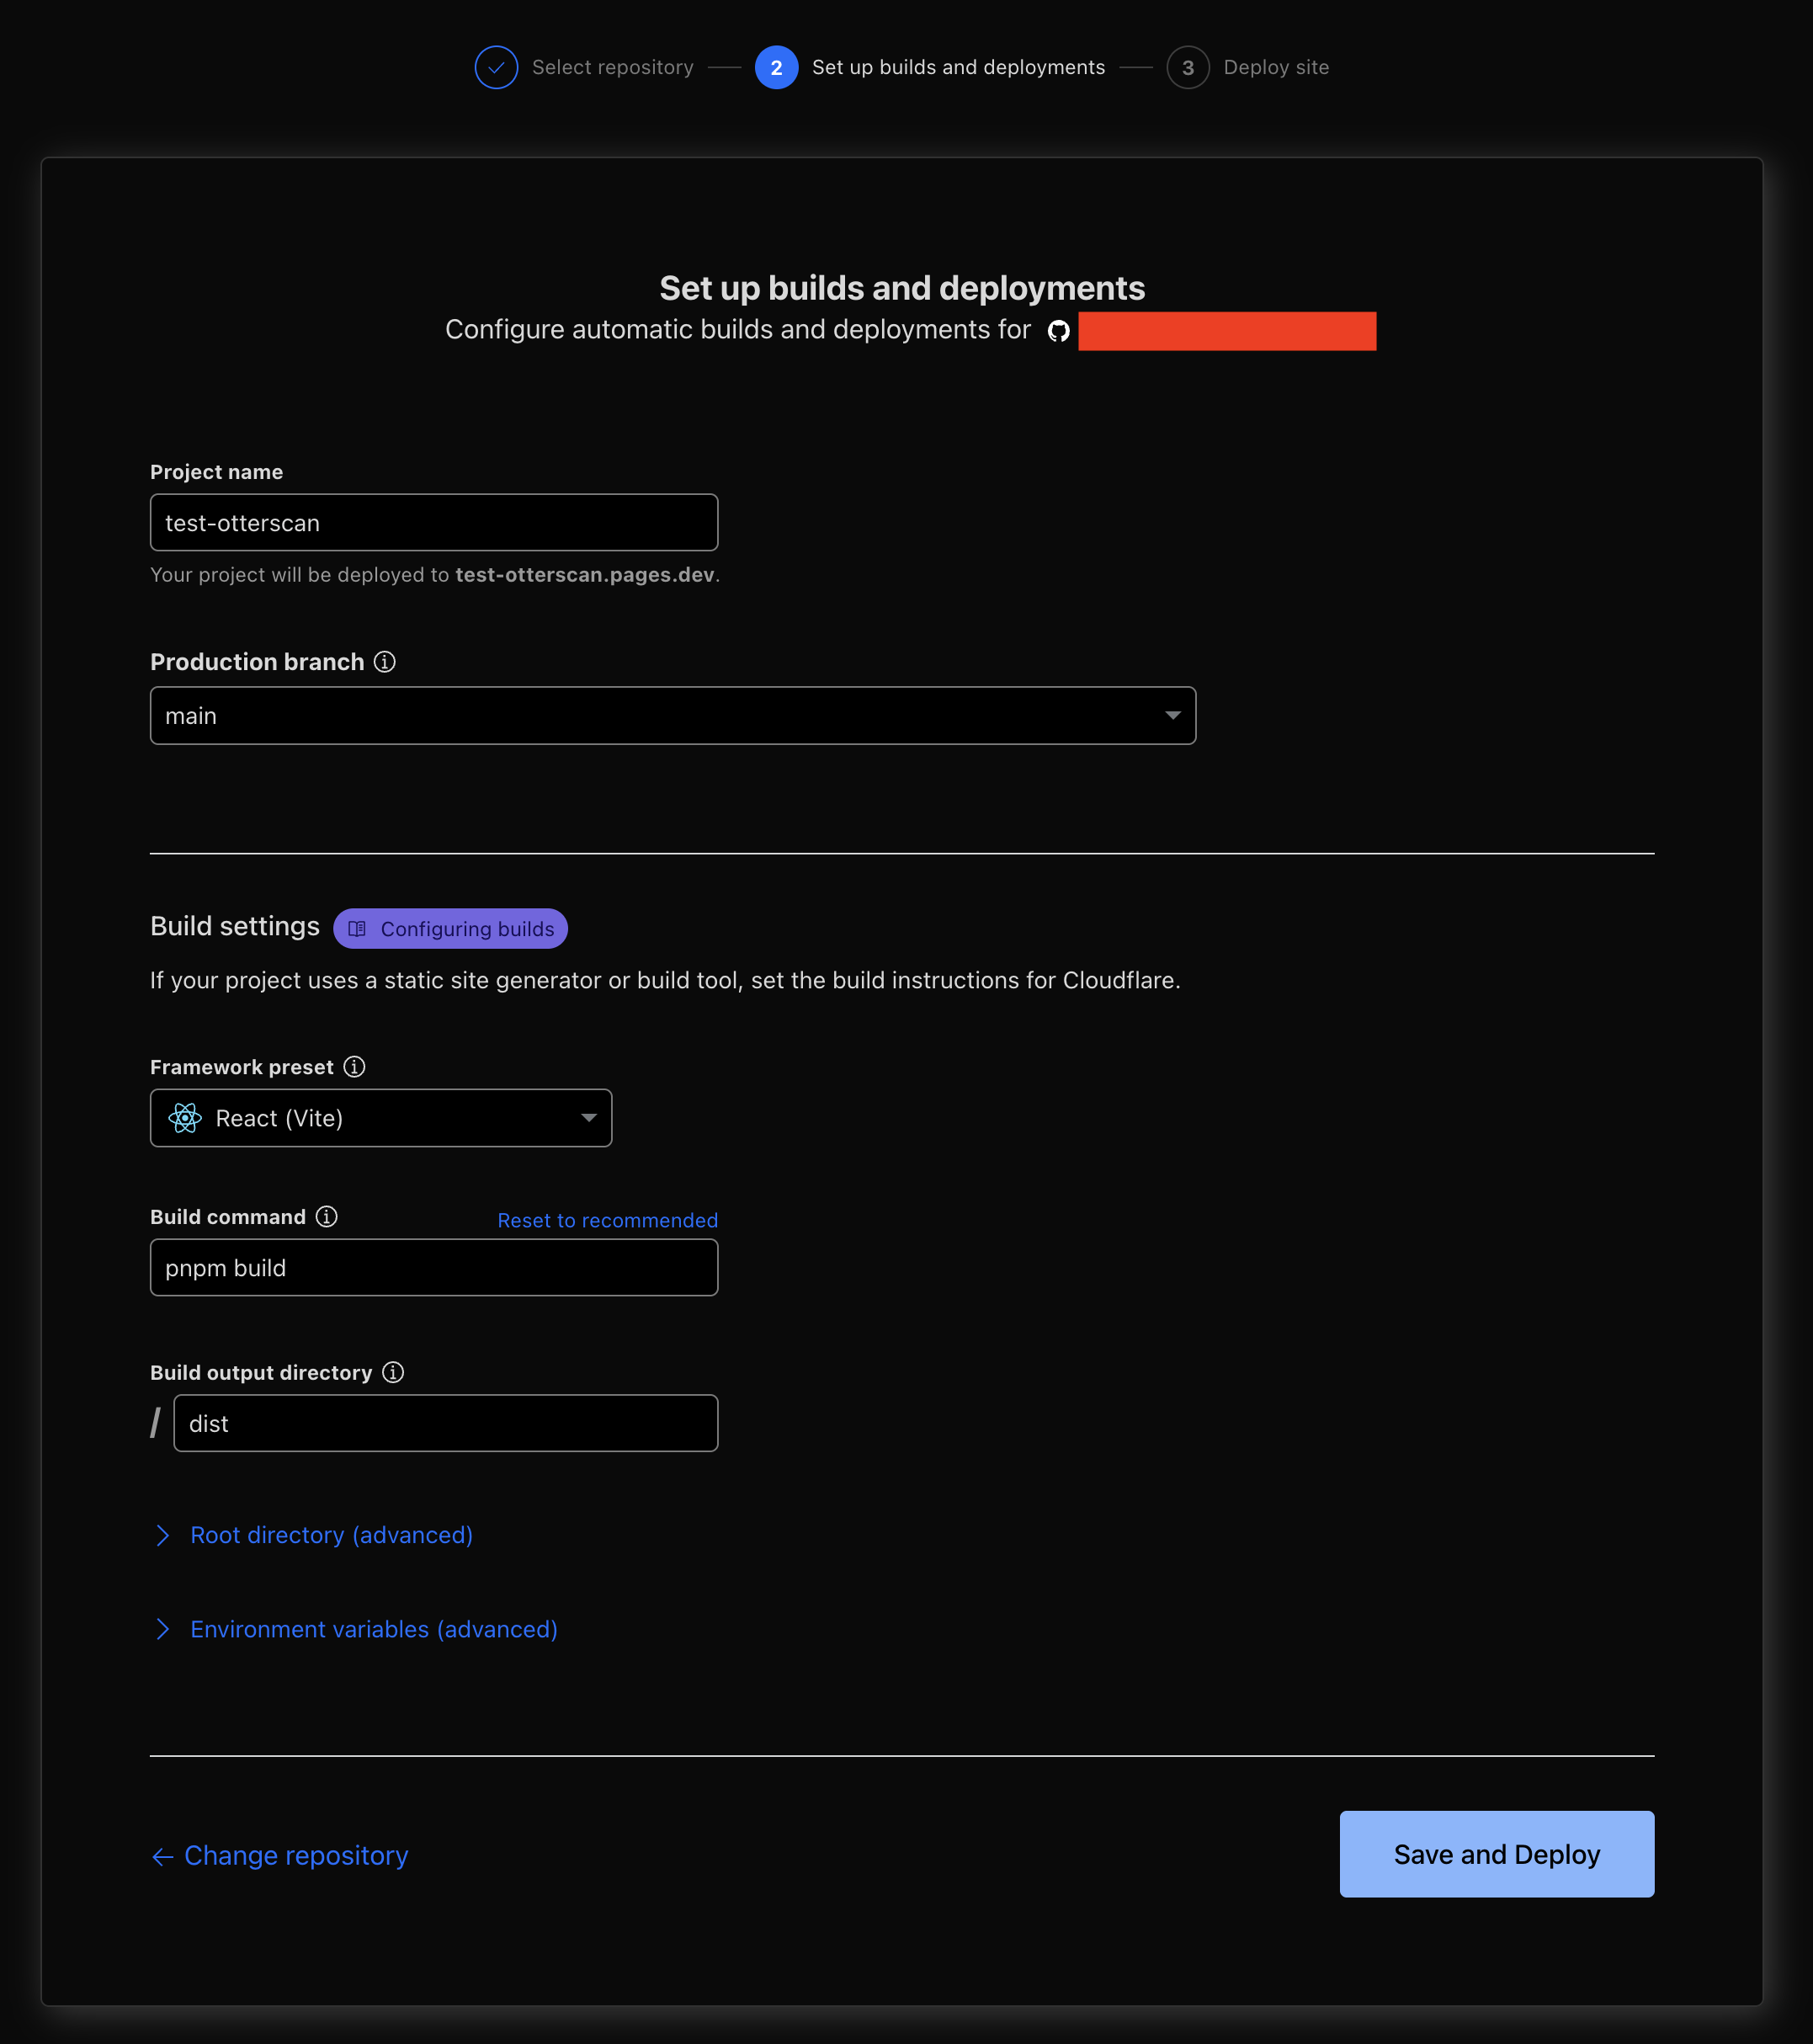
Configure the deployment.
- On production branch select the branch where you pushed your
.env.productionconfiguration file. - Select React (Vite) on Framework preset.
- Change the Build command to
pnpm build. - Don't change the other settings.
- On production branch select the branch where you pushed your
-
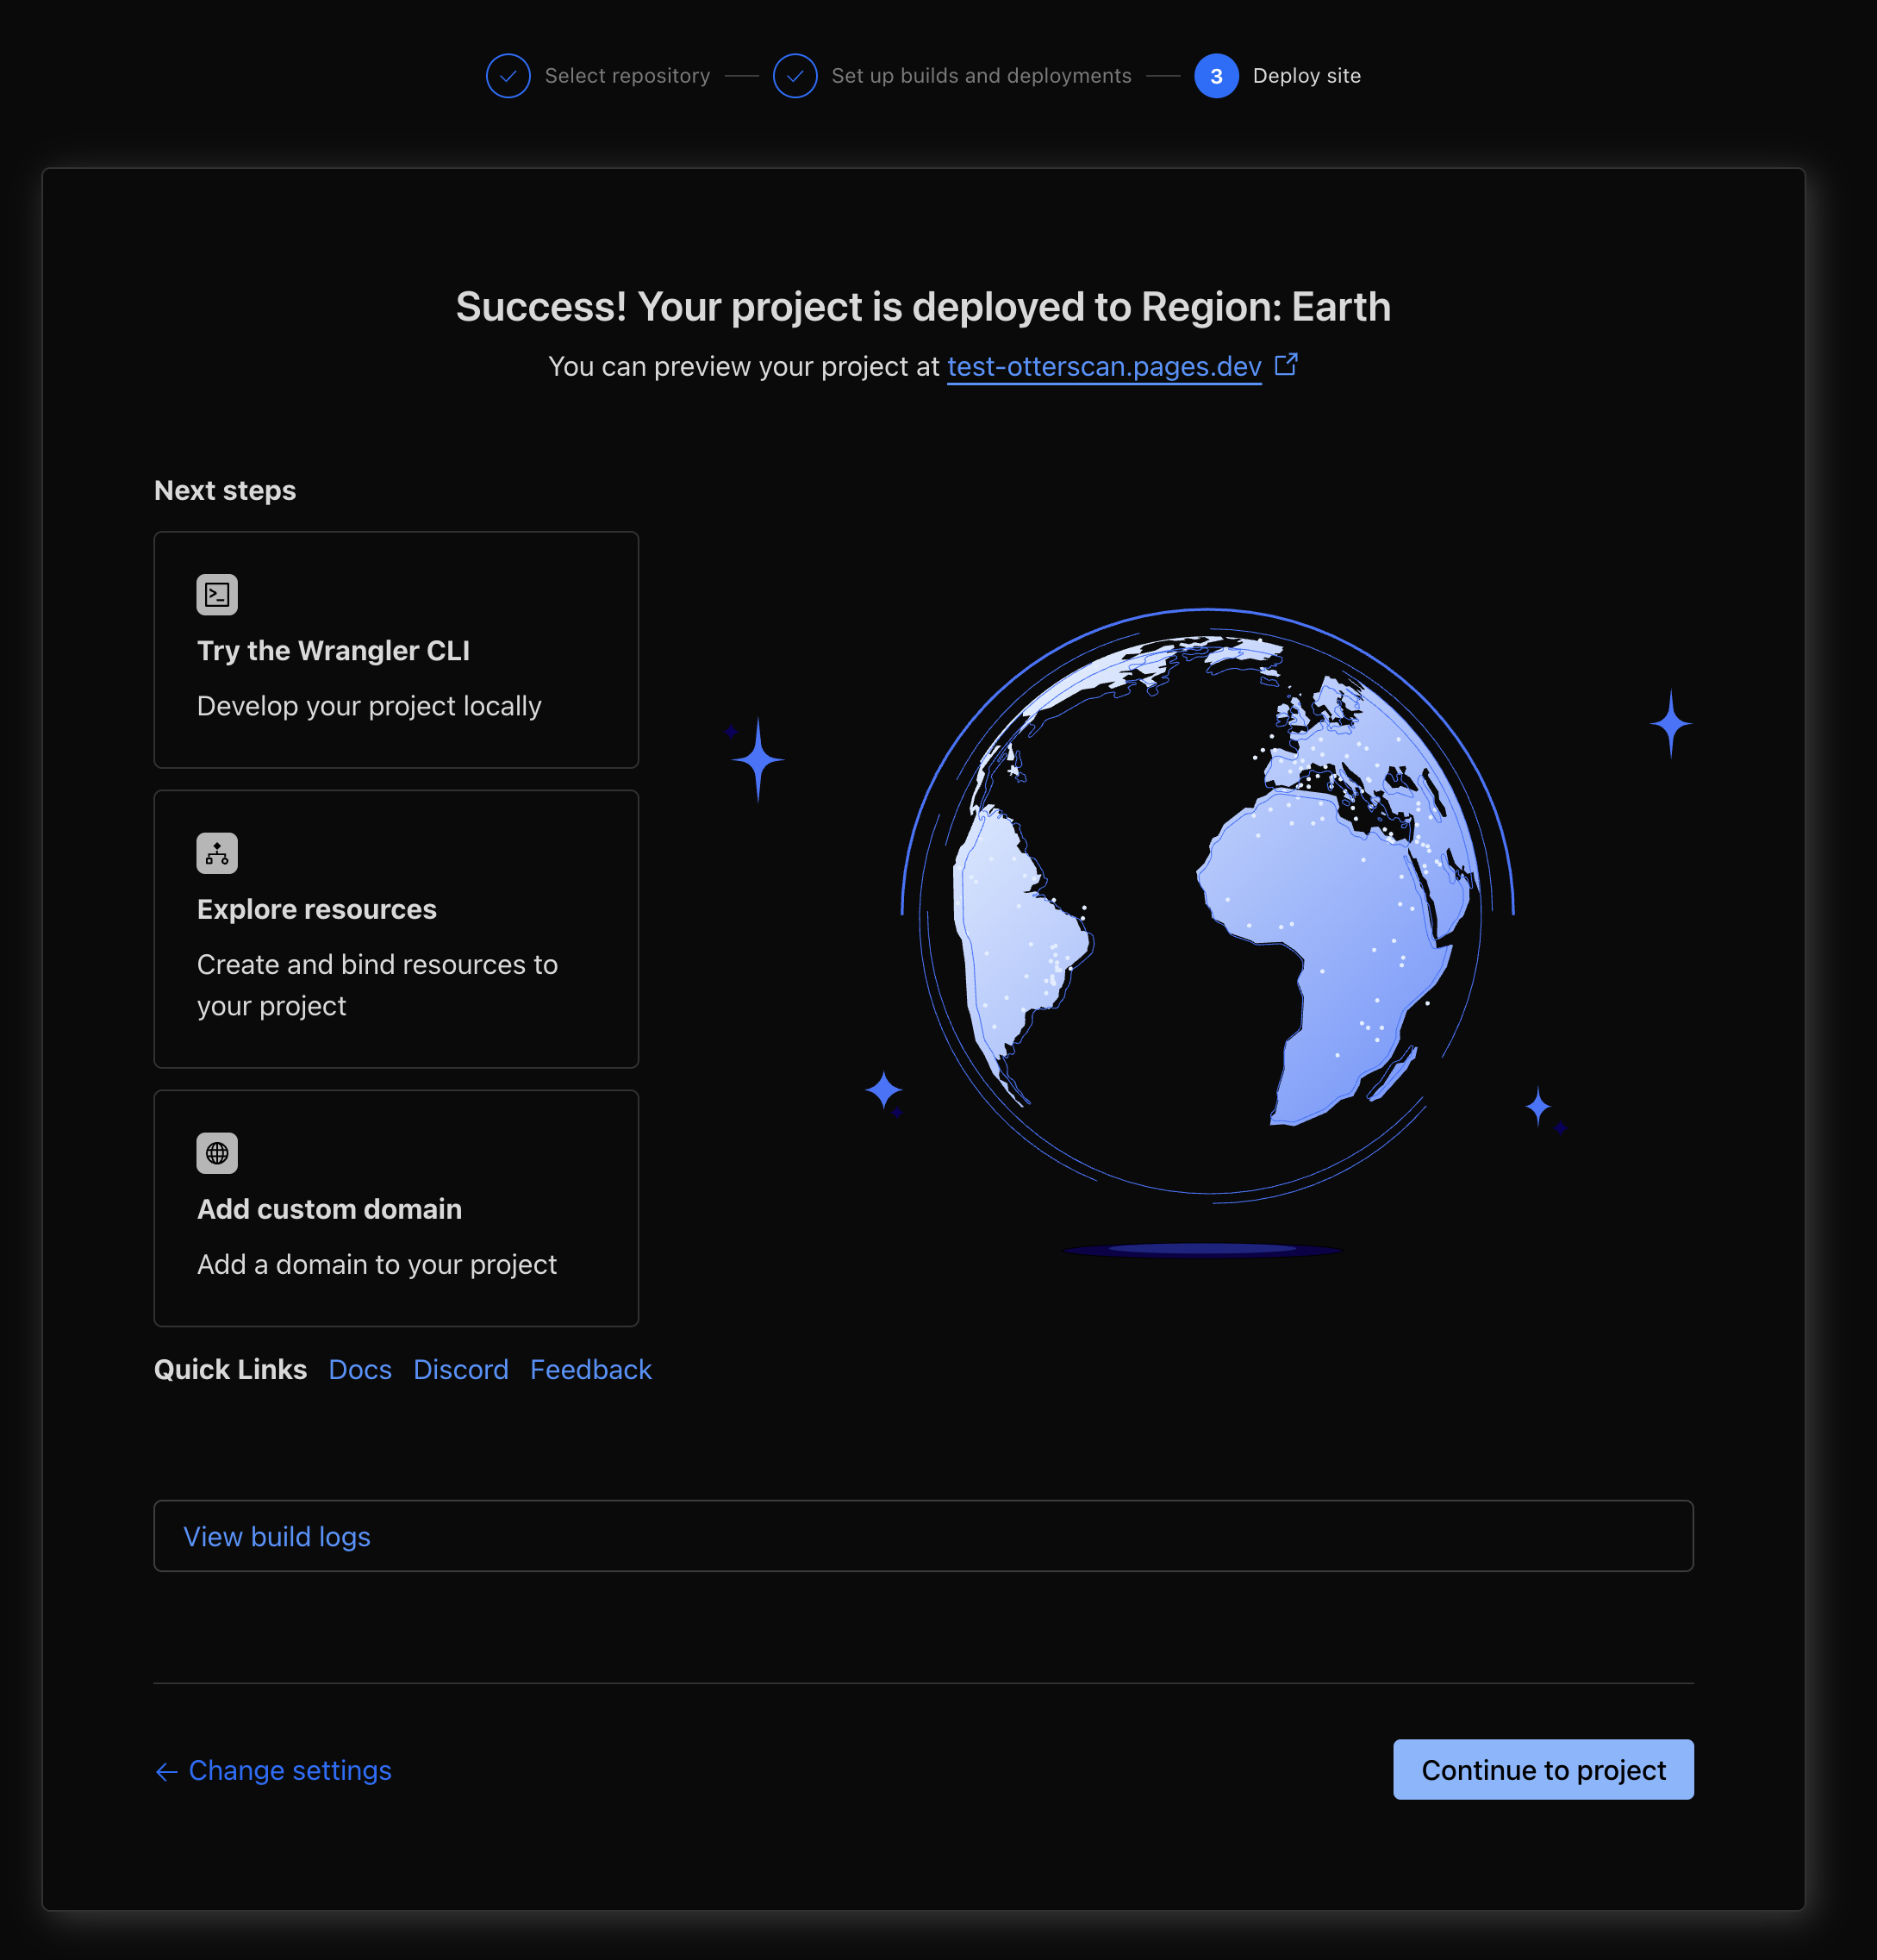
Cloudflare will now proceed to build and deploy from your GitHub repository to a private domain project-name.pages.dev.
⚠️ The
*.pages.devsubdomain Cloudflare gives you is public and anyone who knows it can access your application.
-
You should now be able to open project-name.pages.dev in your browser and it'll open Otterscan making use of your configured Erigon node.
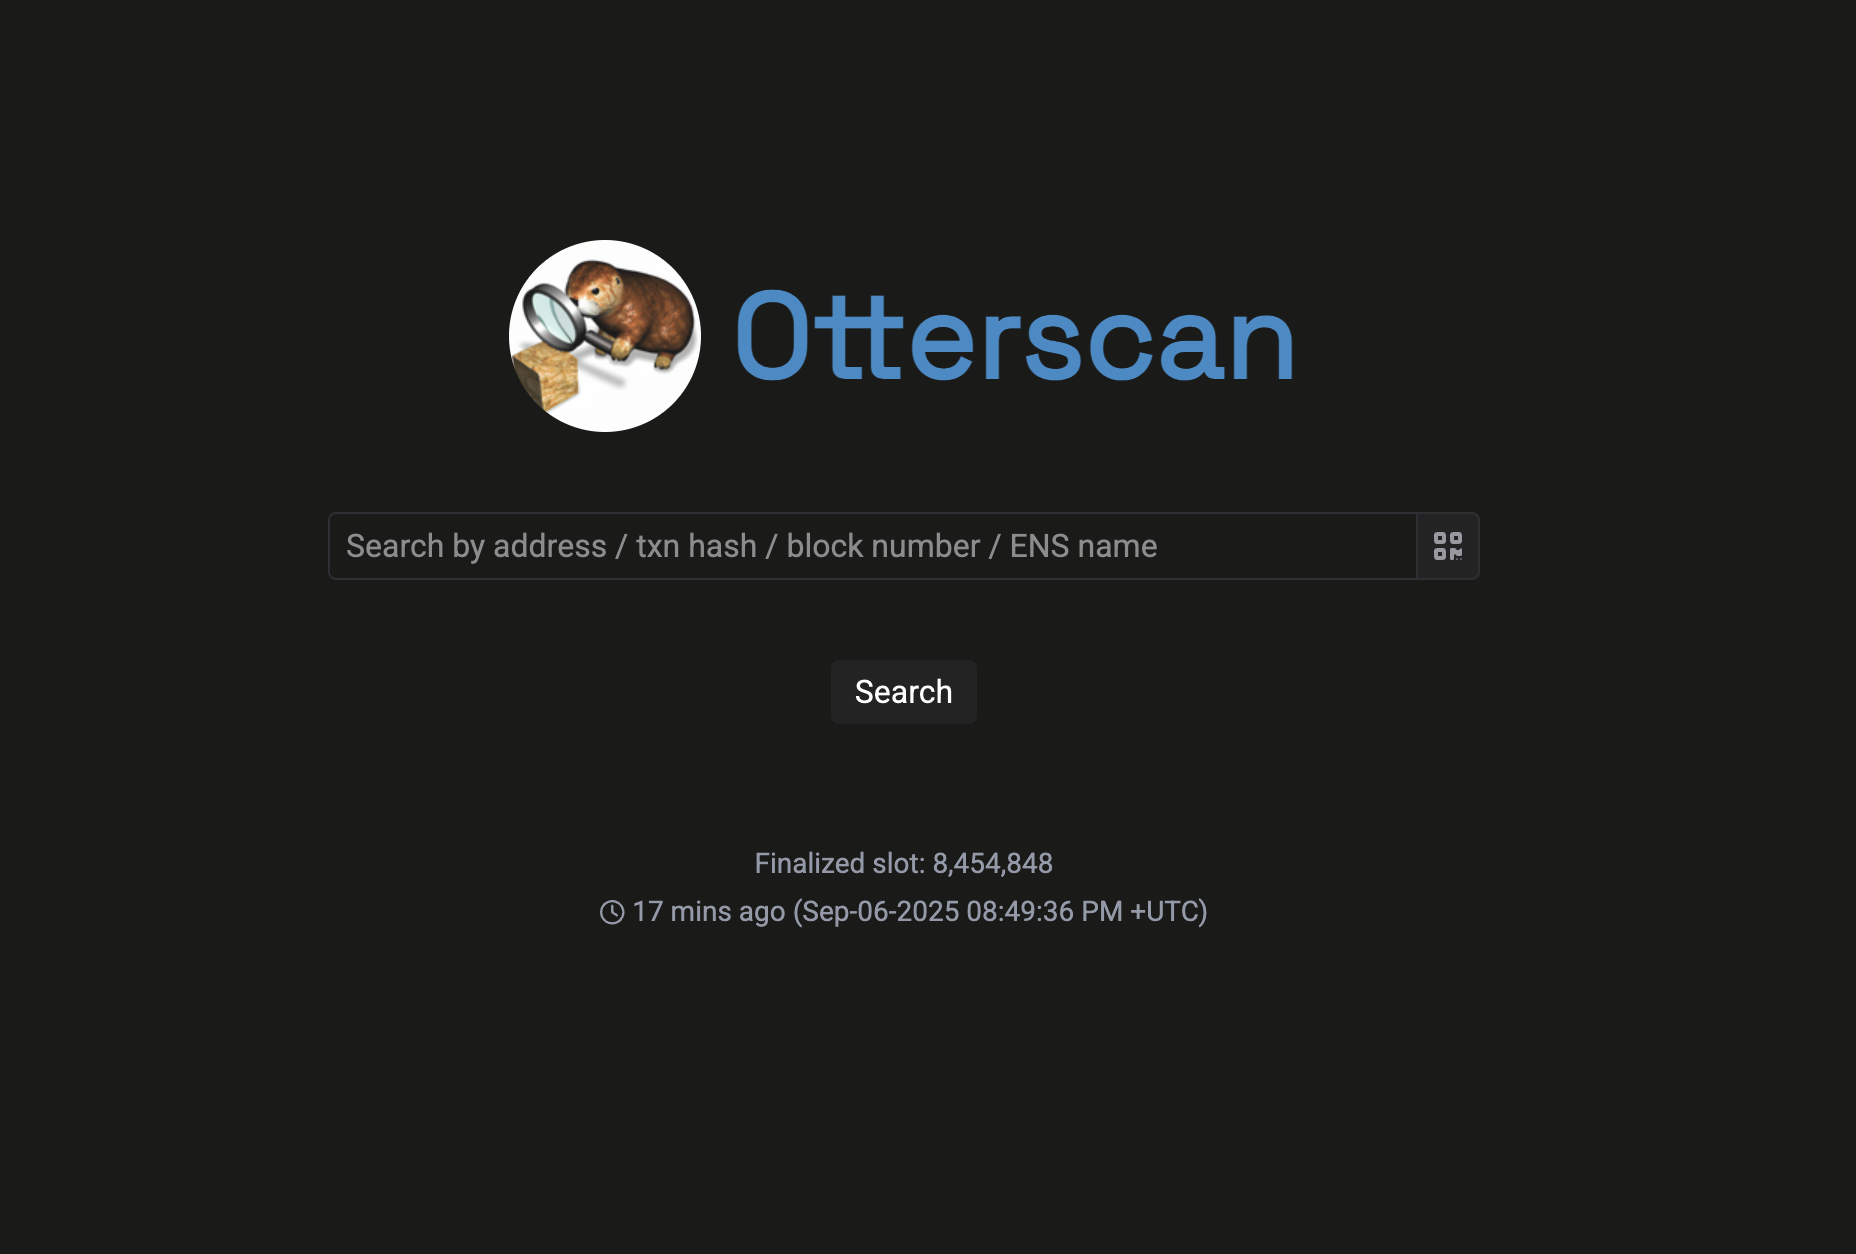
Due to how Cloudflare Pages work, it'll be recognized as an SPA and routing will be automatically handled for you.
What now?
Congratulations! You now have a working Otterscan instance! 🎉
There are other things you can do from here:
- Configure a custom domain.
- Set up deployment pipelines for production/development instances on Cloudflare Pages.
- Configure more aggressive caching.
- Add other configuration options to the
.env.productionfile.